</Current AI Agent Set up For Website Development>
Given how fast the state of development tools change in this era of AI agentic software development, I thought it would be nice to snapshot the technologies I’m currently using for various projects in my life.
This blog post will cover how I use Jules to develop my personal website, since November 2025:
Code storage: Github repository.
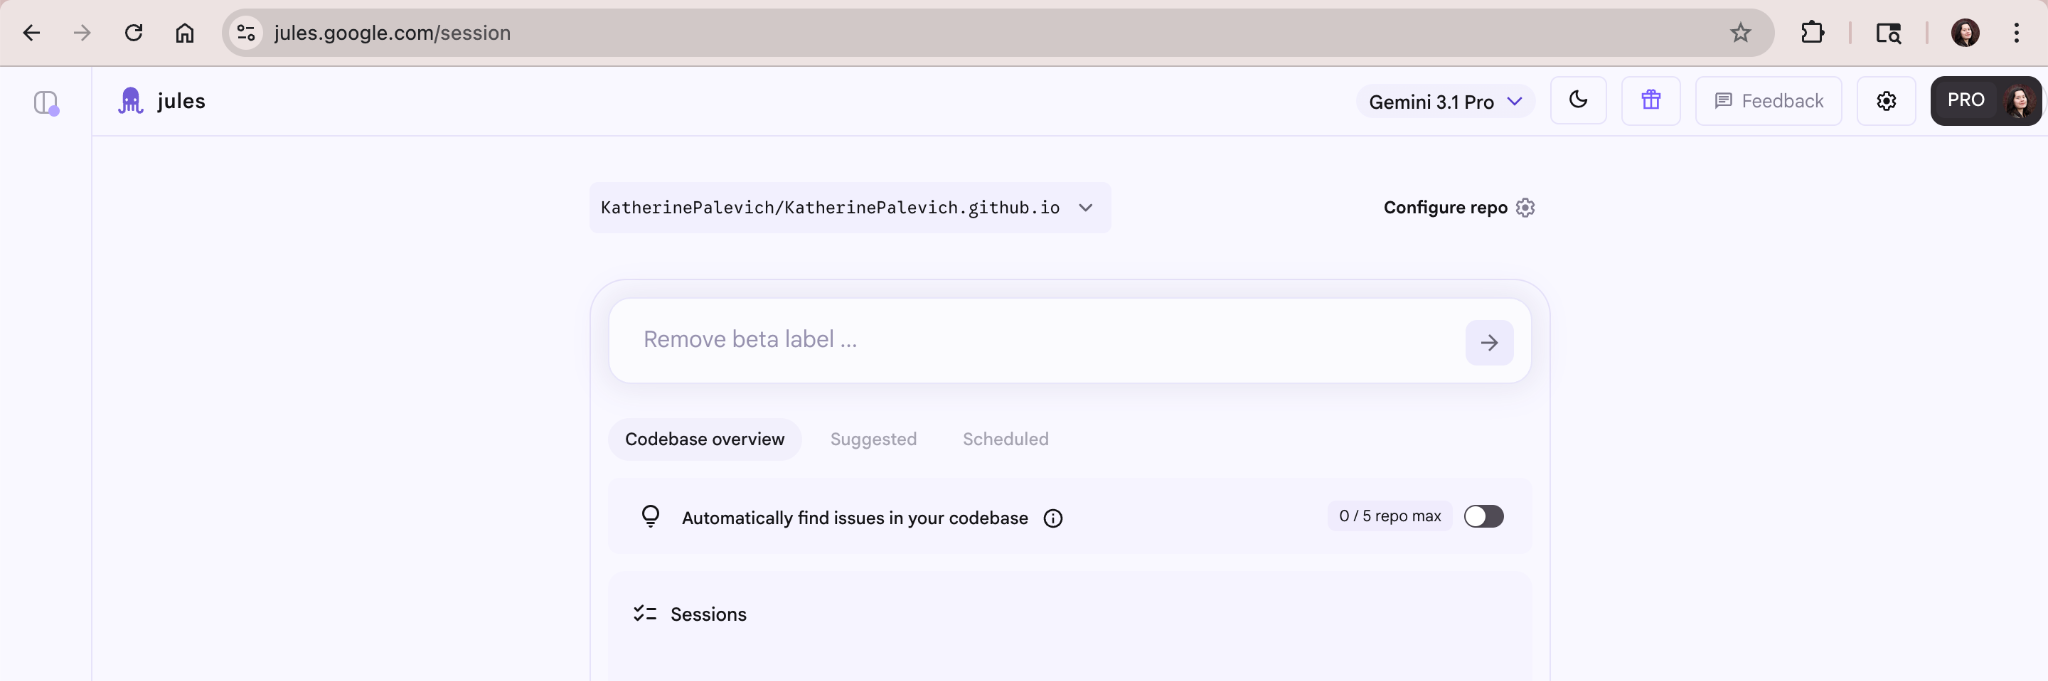
AI Agent: Google Jules AI (https://jules.google.com/)
Why this system works for me: Most of the time, the changes I want to make to my personal website are pretty minute. For example, adjusting text styling or adding a new blog post. That’s why a web based AI agent browser works the best for me. I can connect my Github repository and fire up a session within seconds. I don’t need to update an app on my laptop, git pull, etc. It’s also browser based, so I can close the tab if need be and reopen the tab later once I’ve gotten an email that the task has been completed.
Update 5/4/26: another plus for using Jules in the browser is that I can prompt changes on my phone! I don’t have to wait for Google to build a custom mobile app or develop in a cluttered non-mobile-native IDE. I can simply find a bug on my website, open Jules in Chrome, prompt Jules with a change, work through a plan, and then merge the GitHub PR that Jules created to fix the bug.
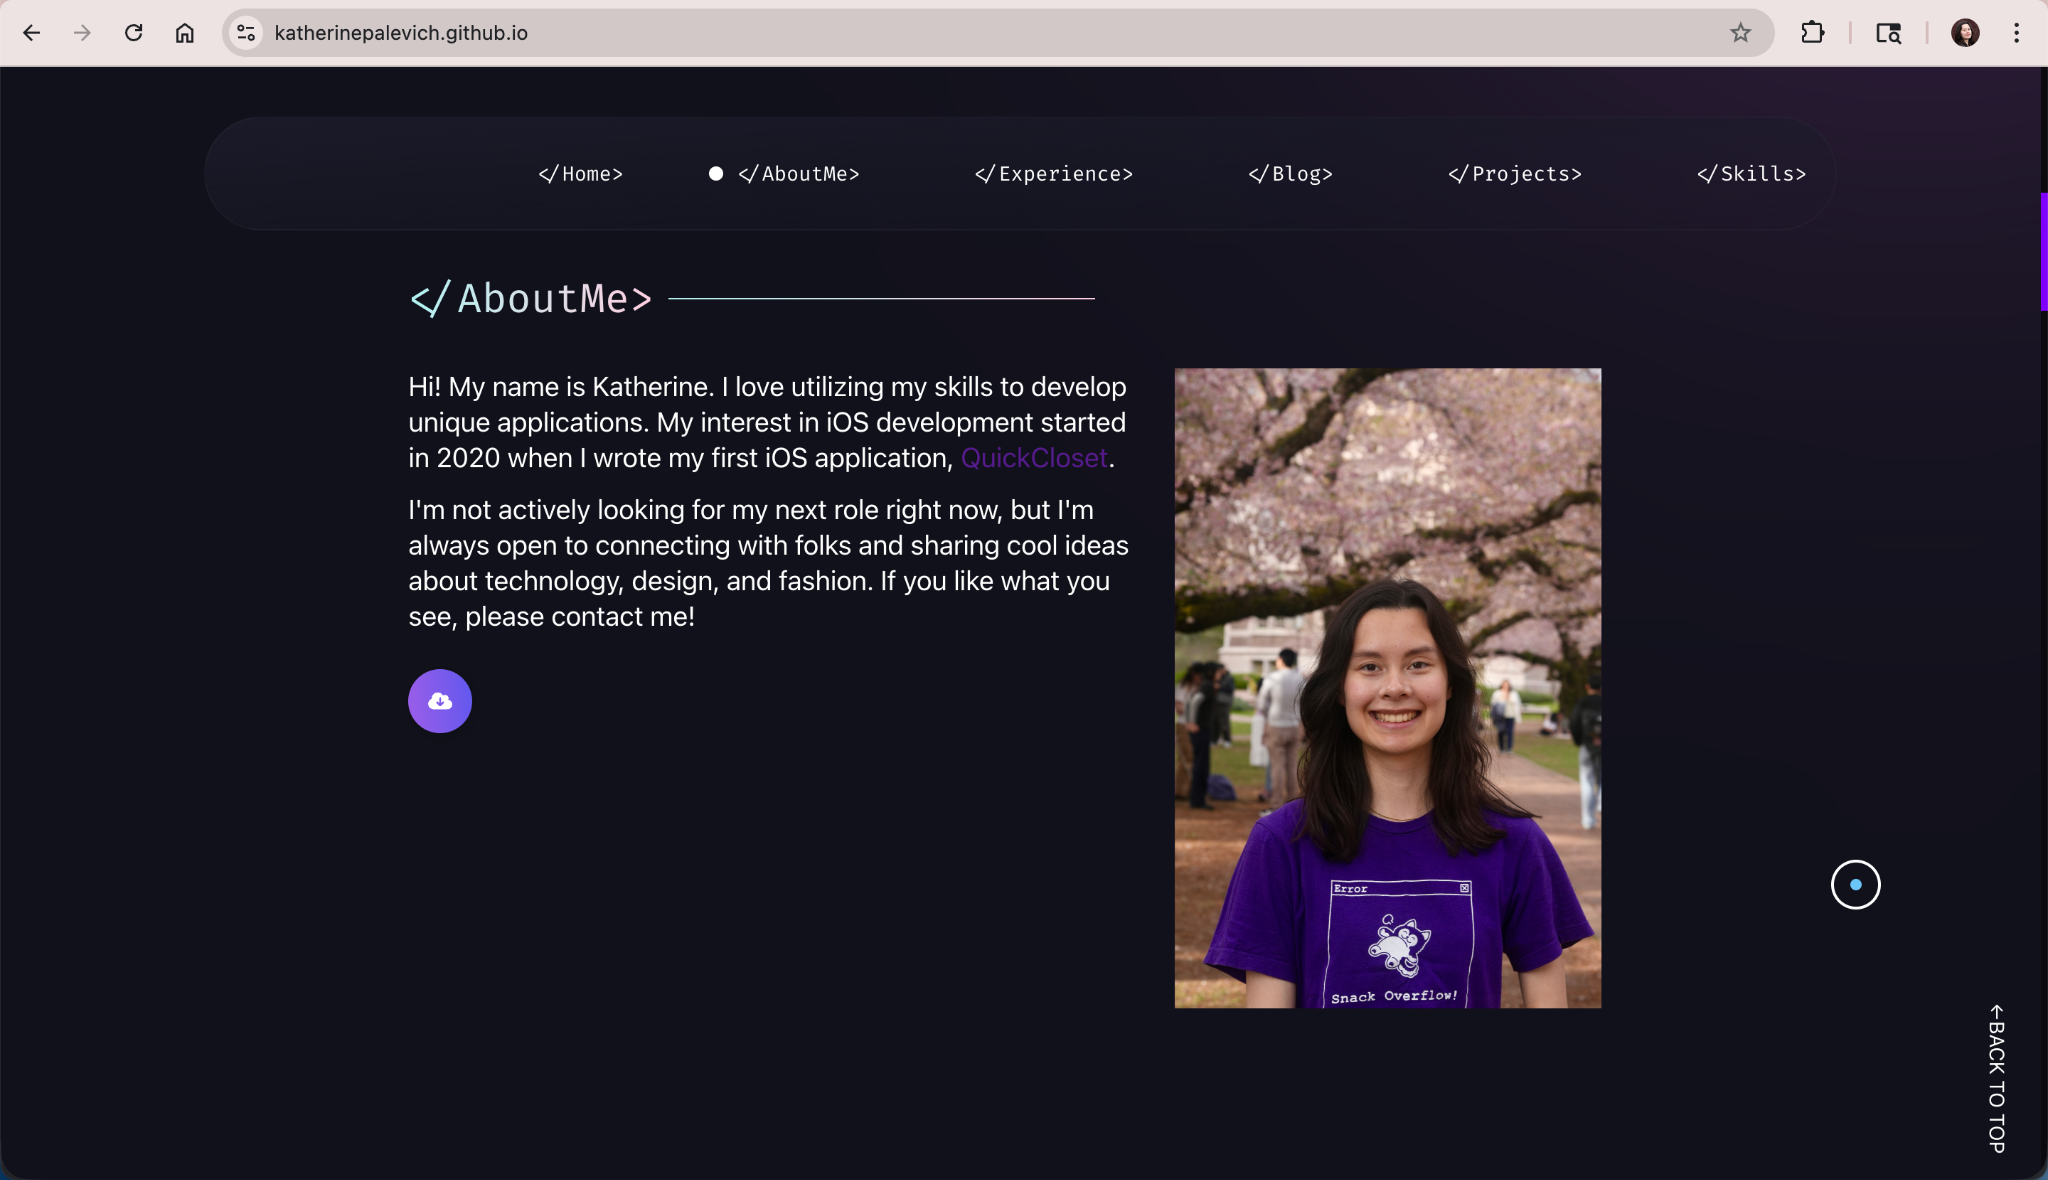
Before: I want to add a caption under the About Me photo that highlights the fact that I designed the T-shirt I’m wearing for my university’s Computing Community club.
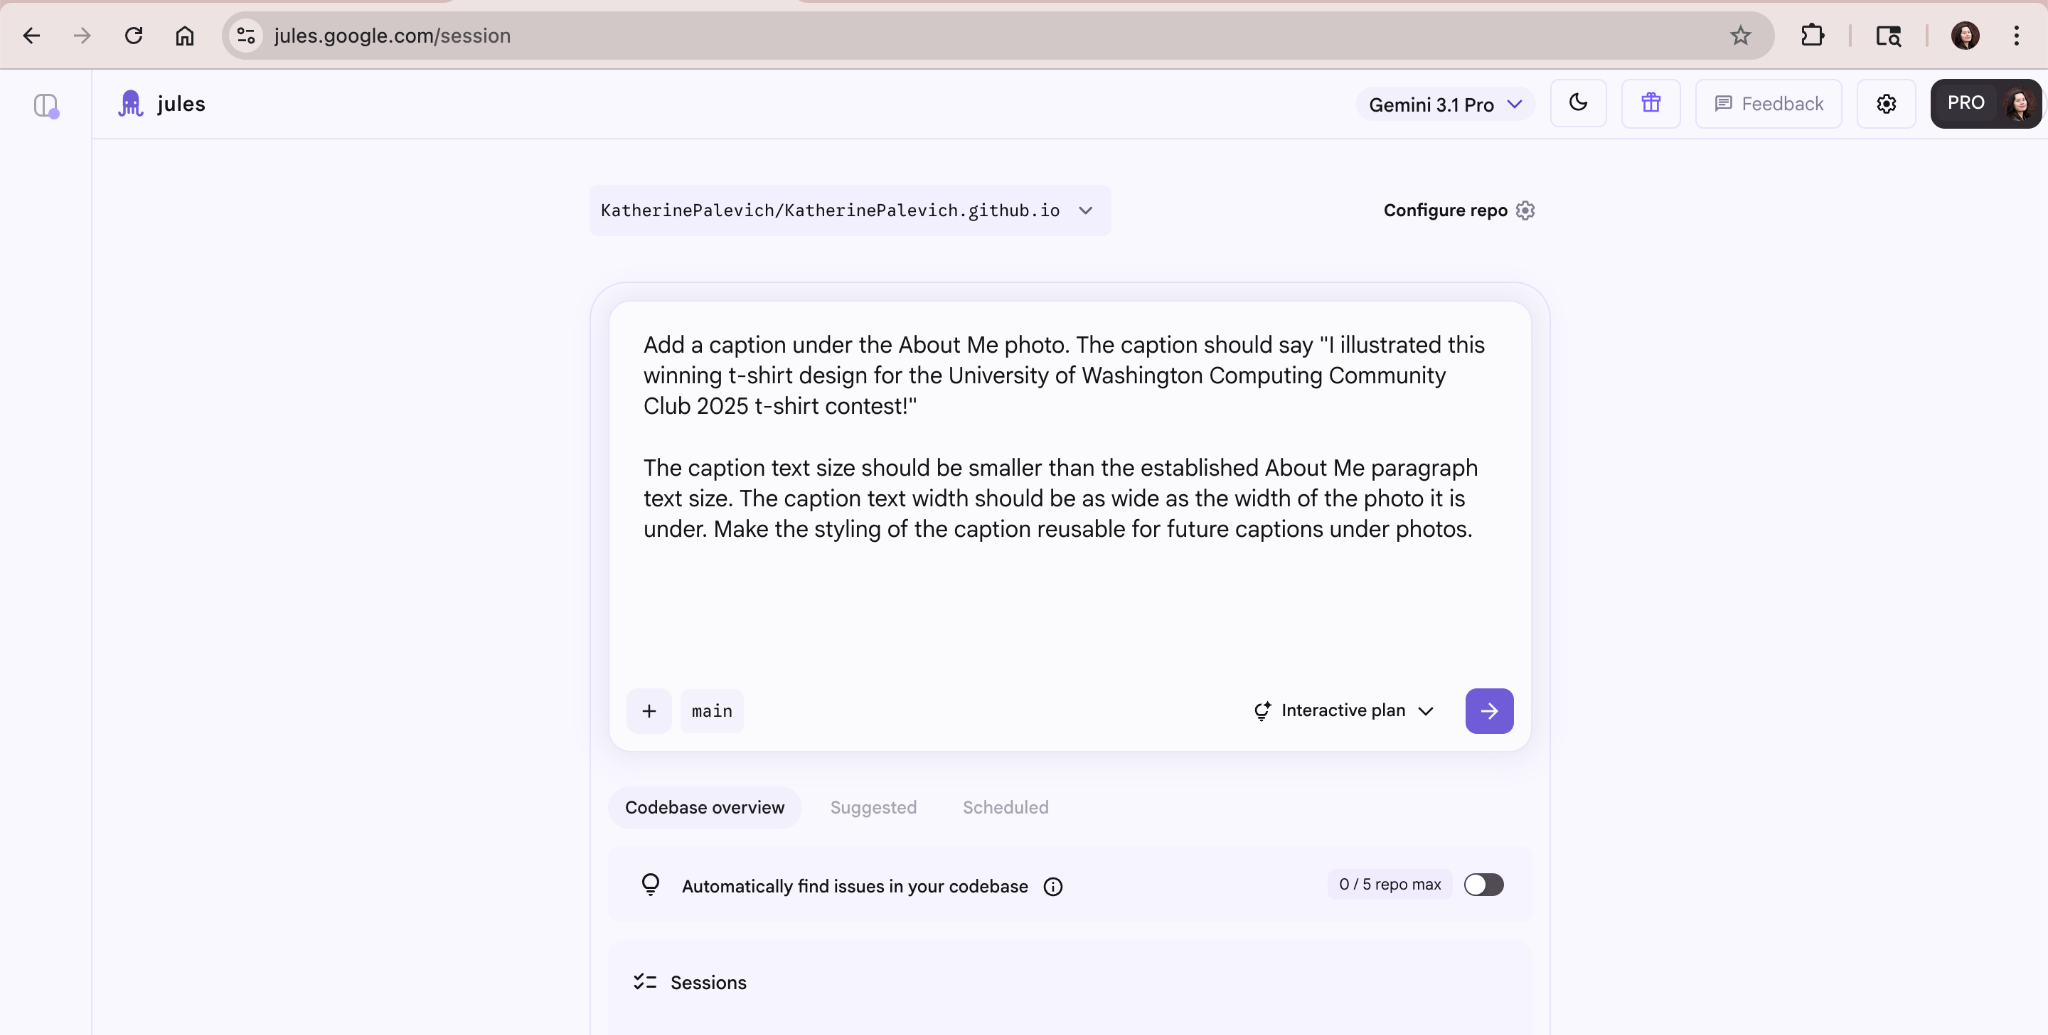
I make sure to set the chat style to be an “Interactive plan”, so that myself and the agent are on the same page before the agent executes the plan. The agent will send clarifying questions which I answer before it proceeds to implementation. This interactive style is crucial for catching subtle edge cases, as proven by the bug Jules immediately surfaced in the same session.
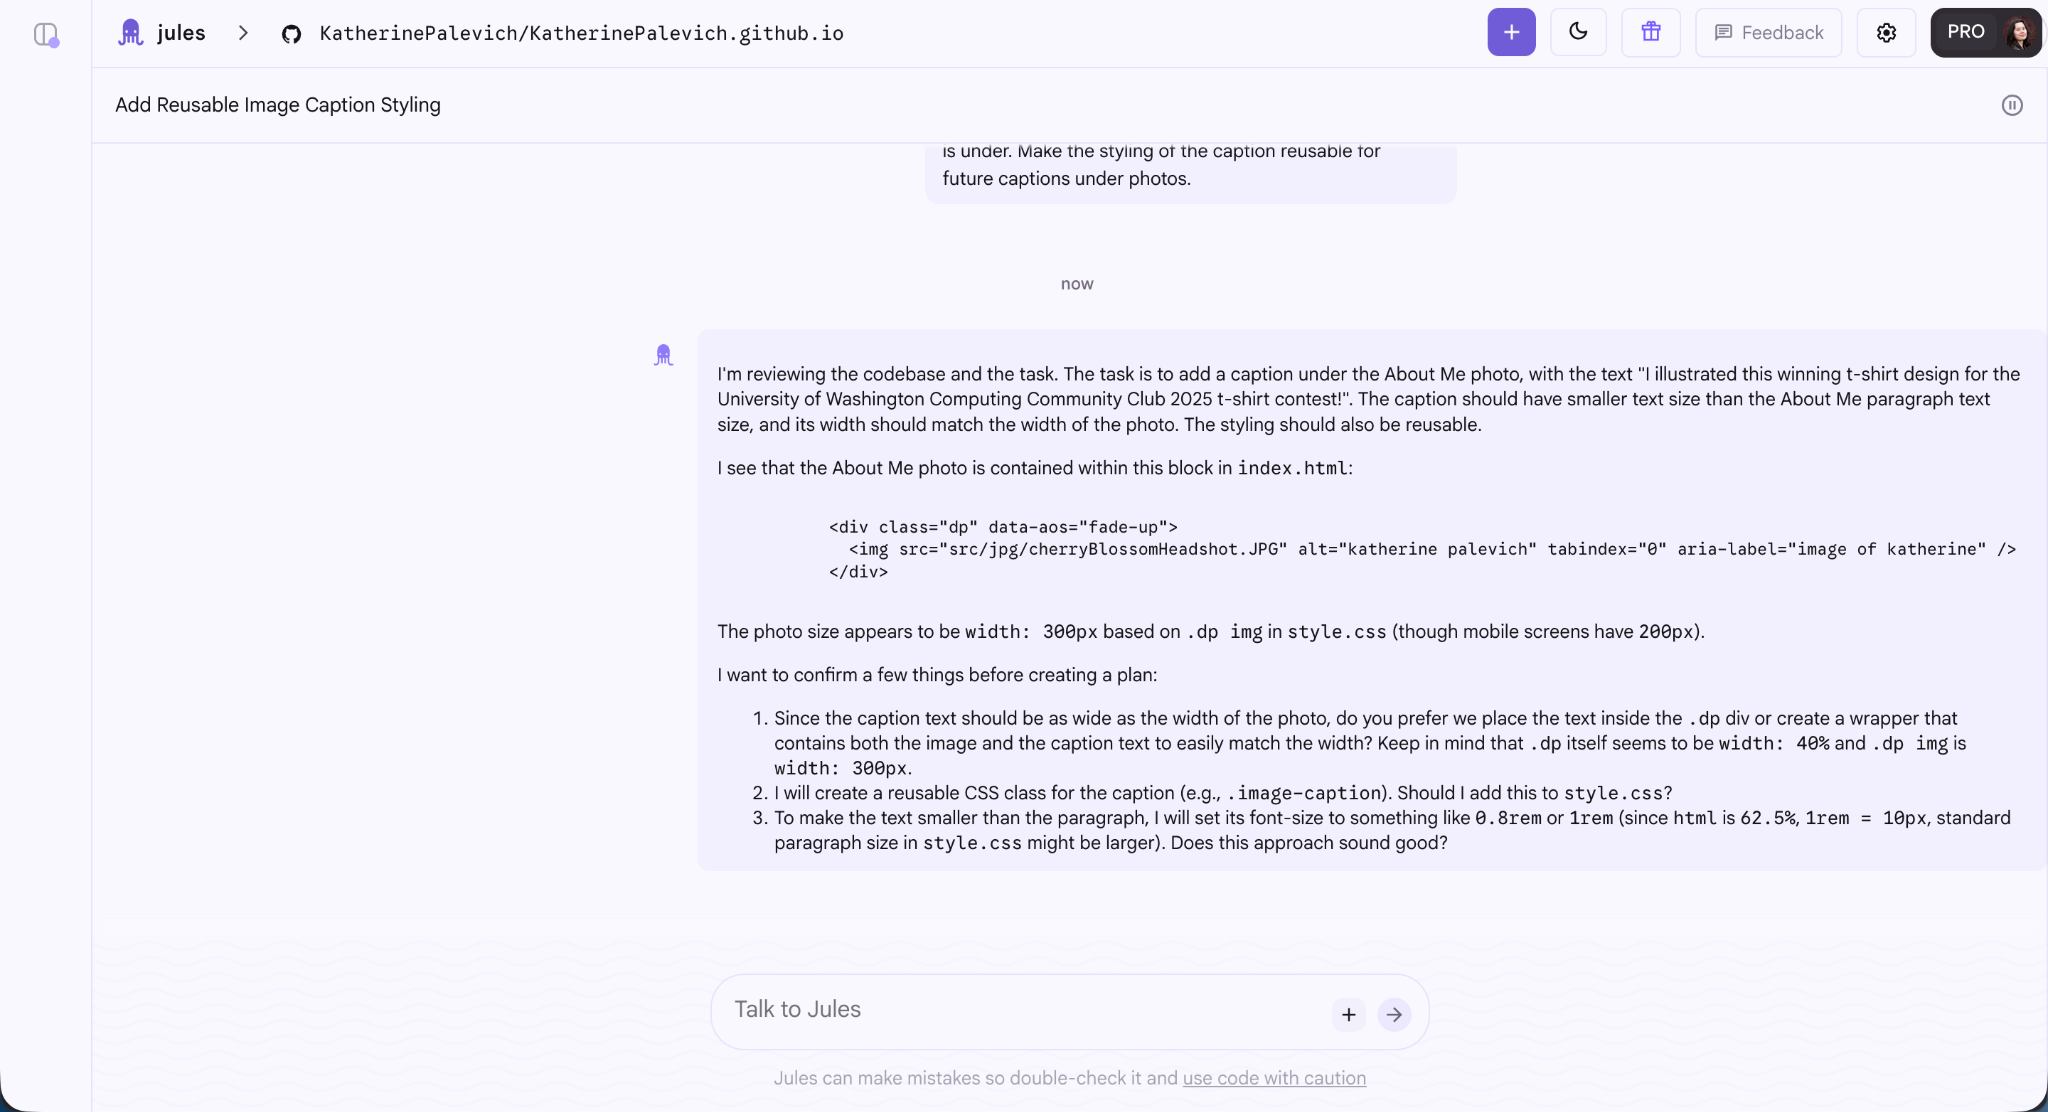
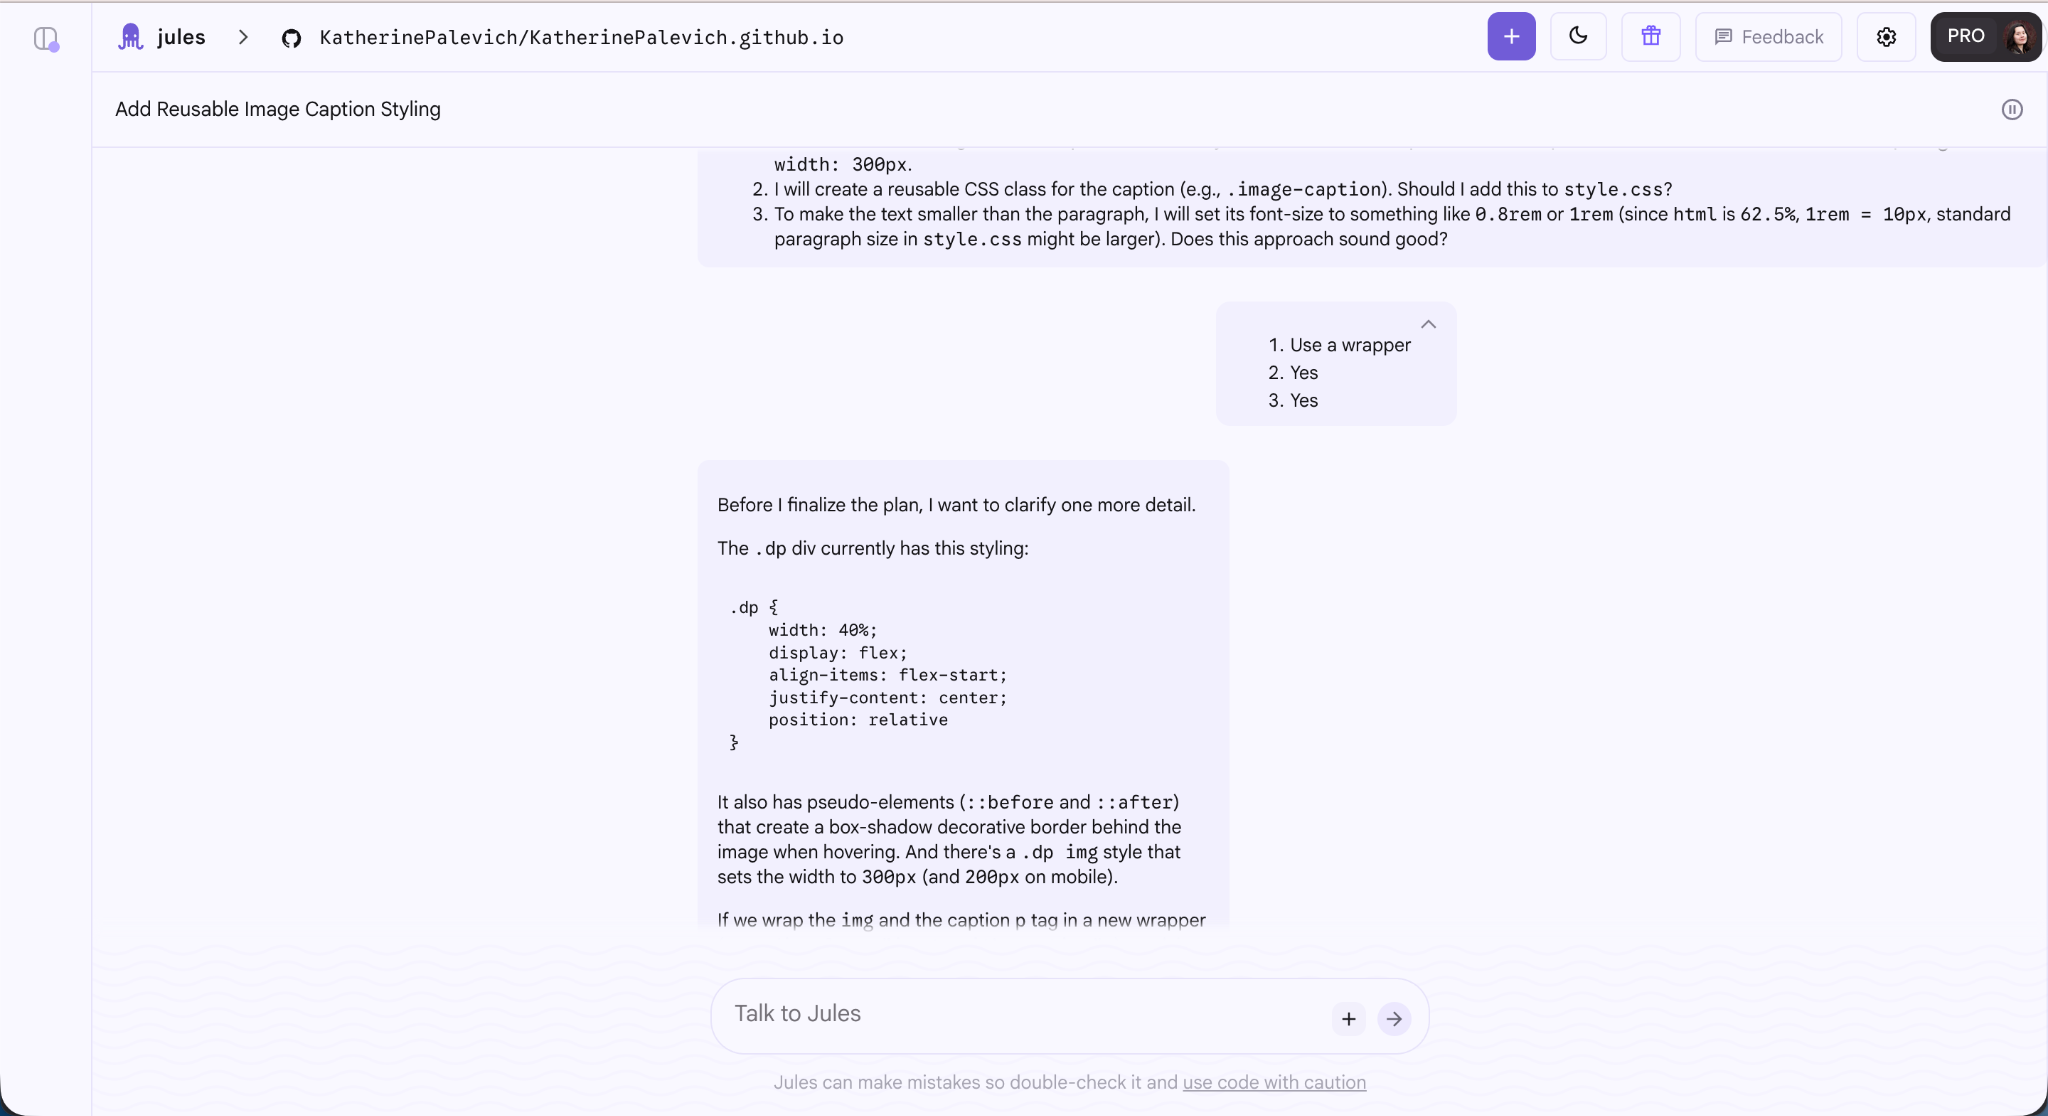
You can actually be pretty short with your responses, but make it clear which question each answer corresponds to. For example, my response to '2. I will create a reusable CSS class for the caption (e.g., .image-caption). Should I add this to style.css?” ' was simply '2. Yes', saving time while maintaining clarity.
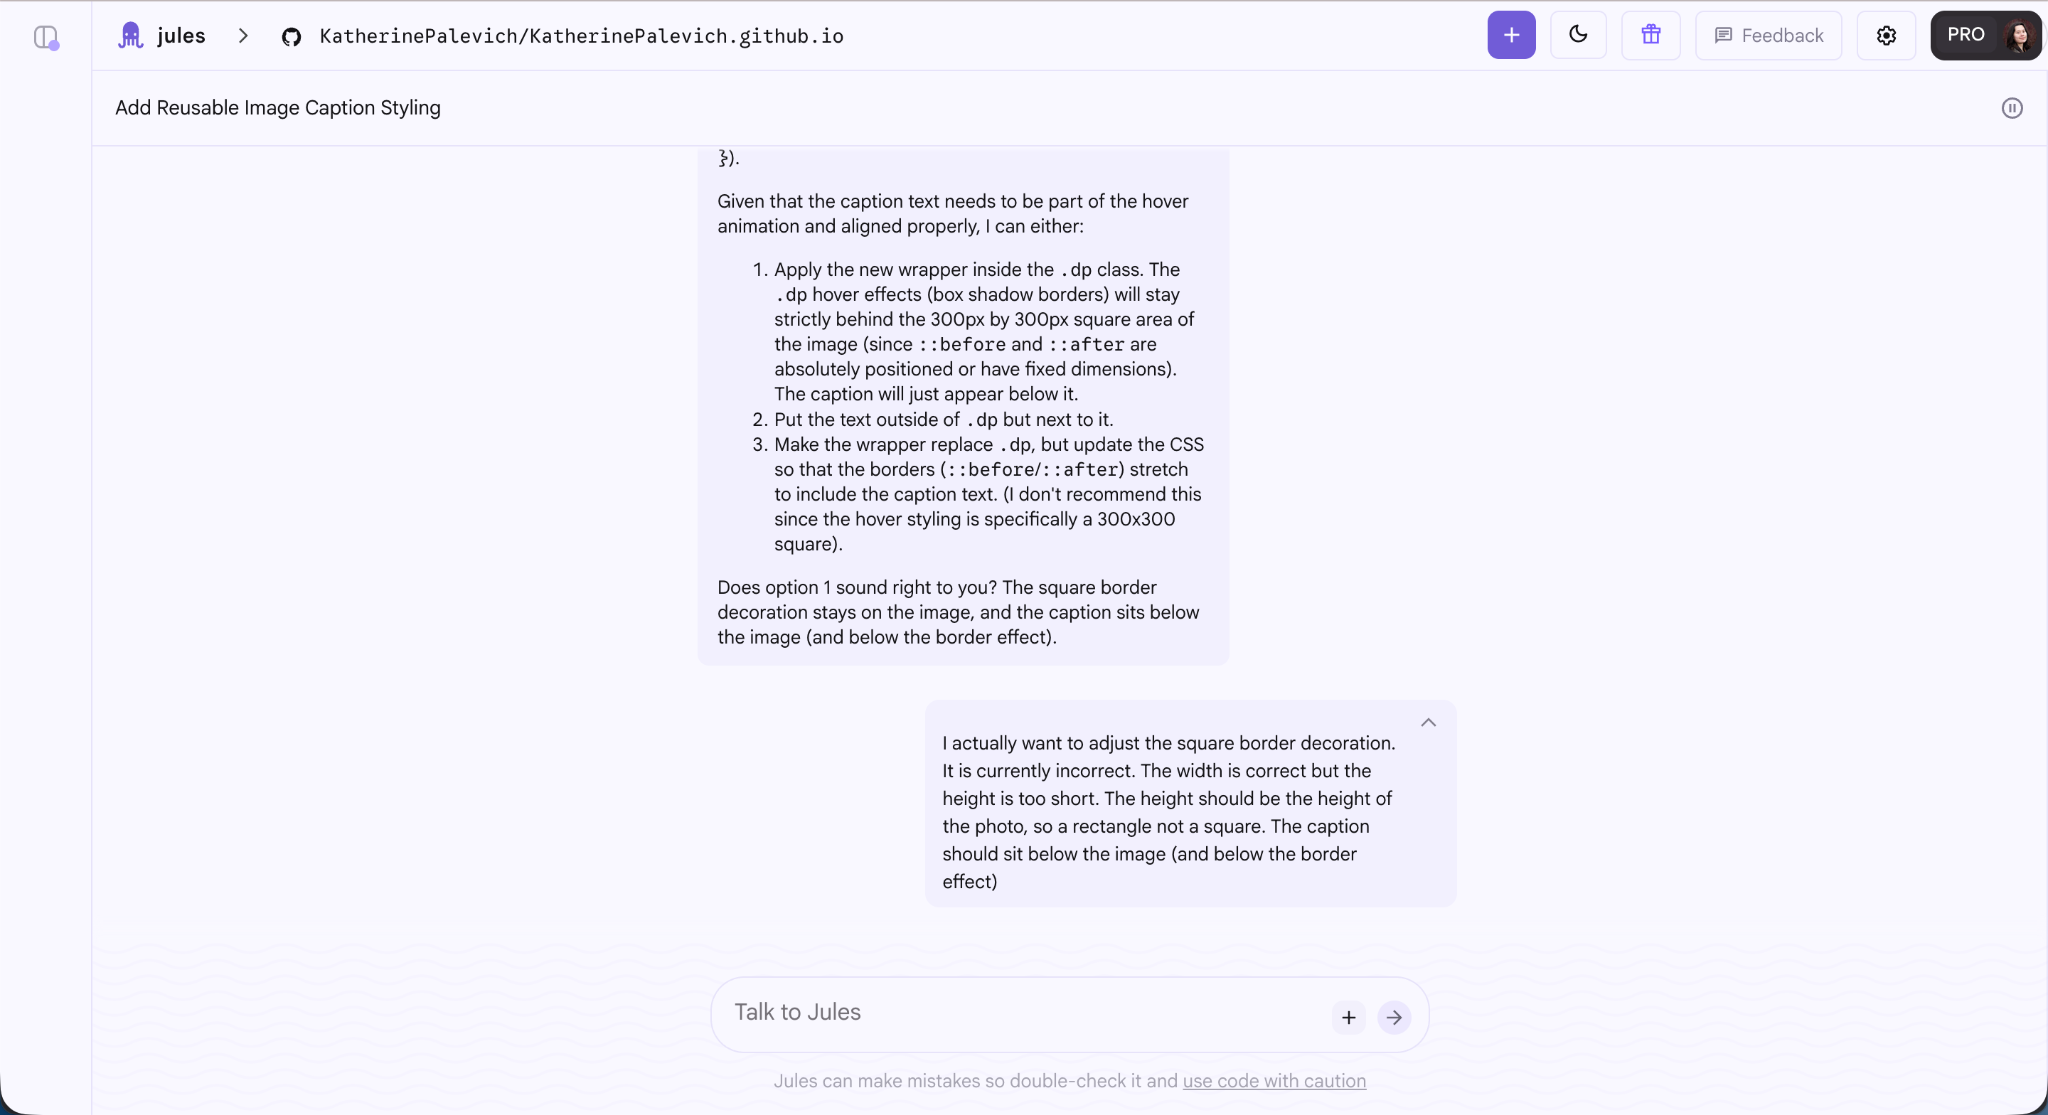
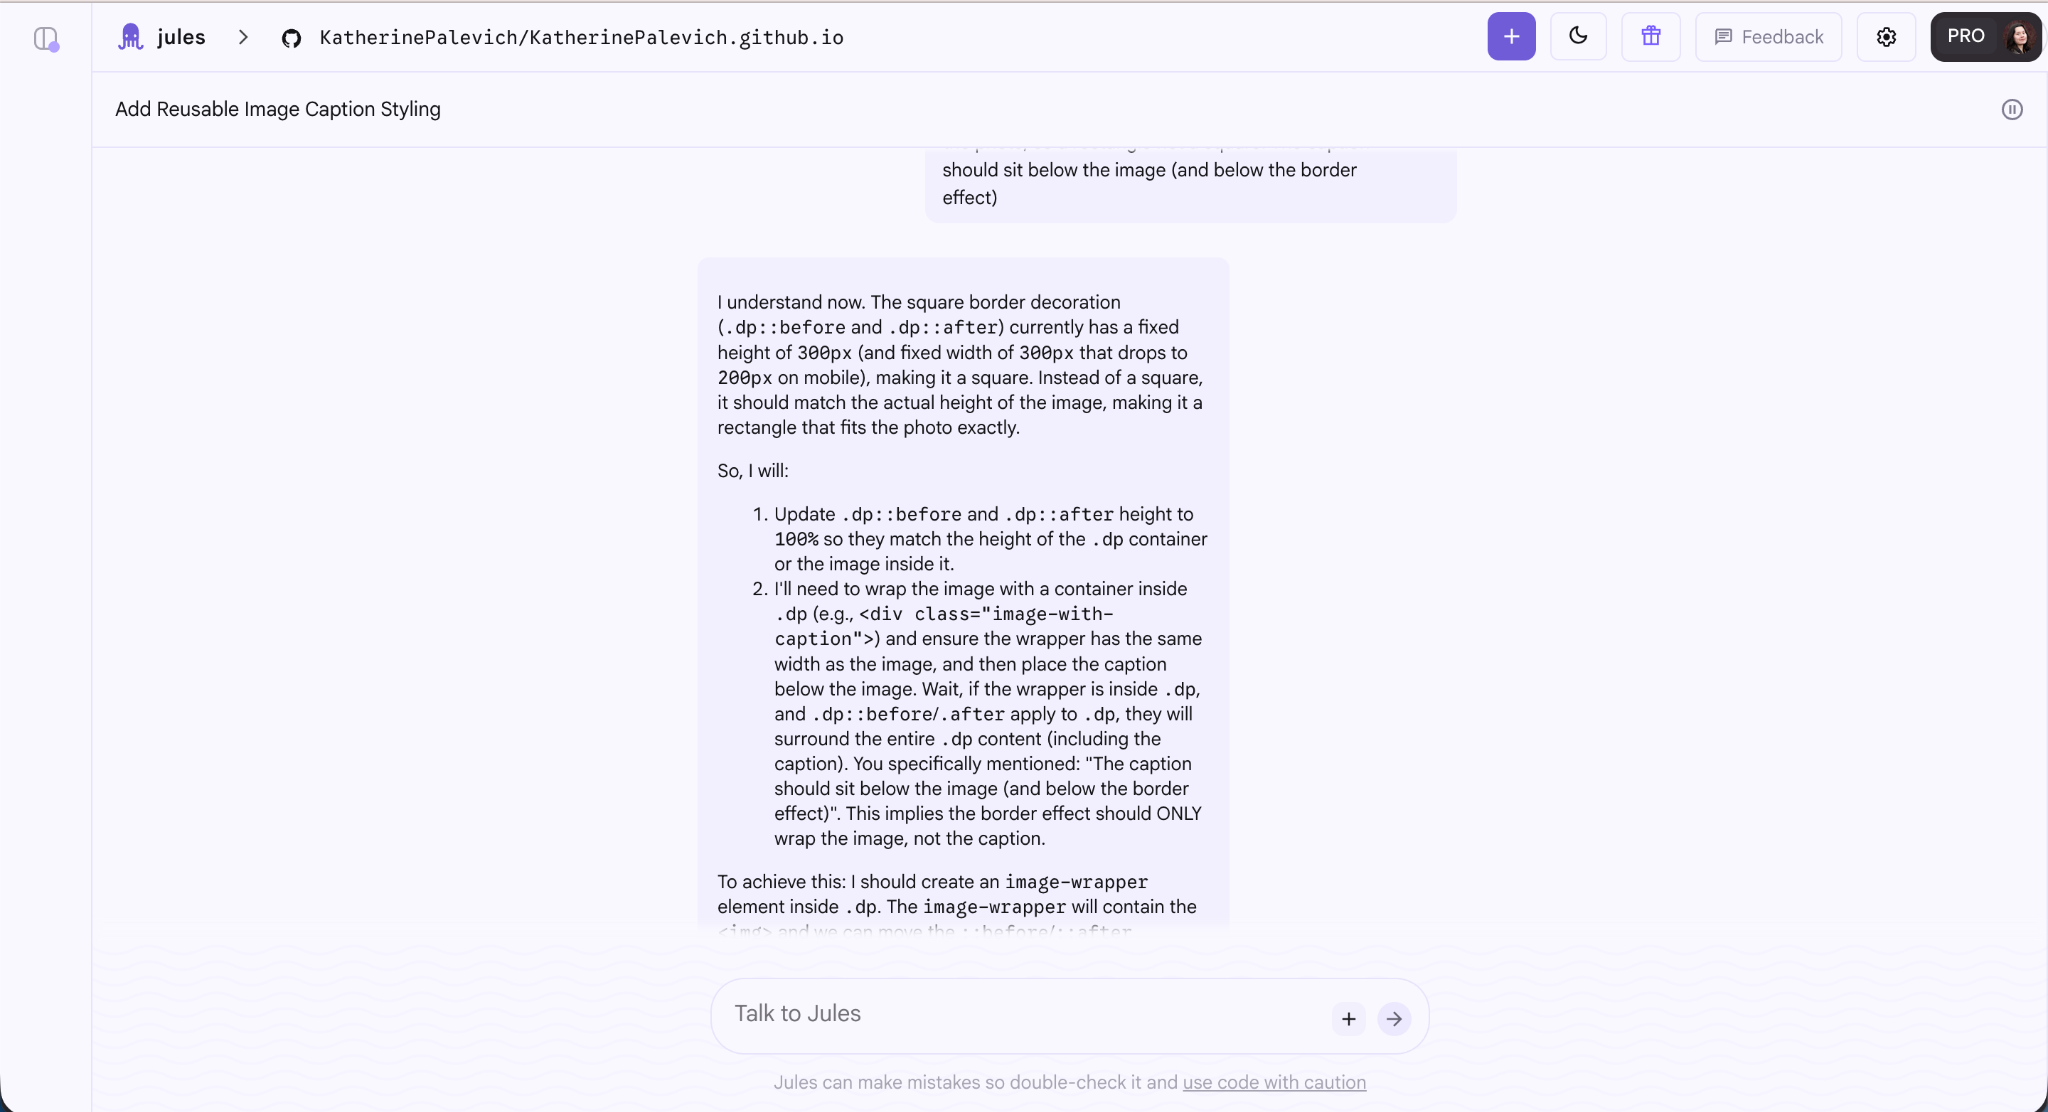
You might end up adding more tasks to the session based on edge cases found. In this case, Jules brought up a good point about the square border decoration. This is a bug I’ve been meaning to fix, so perfect timing to address it!
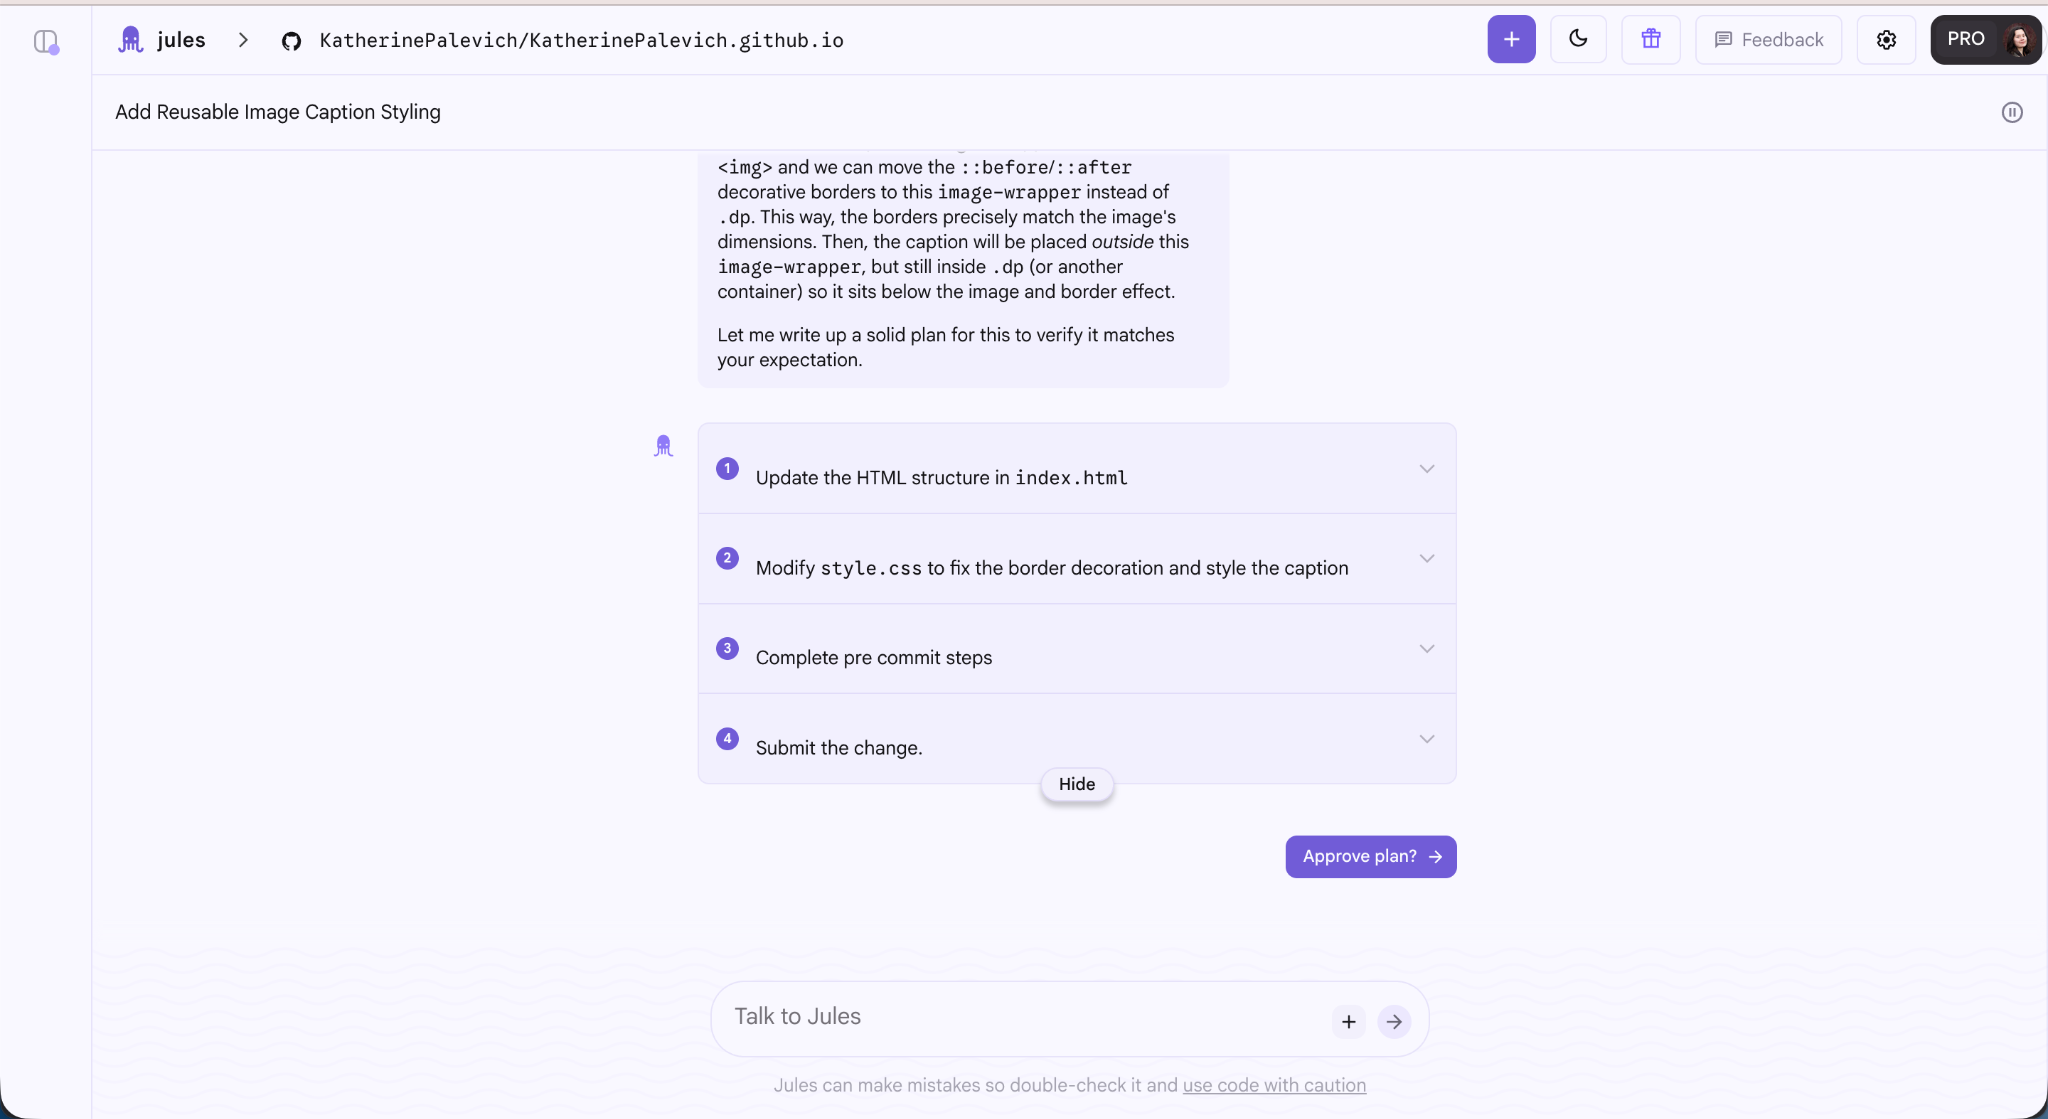
Once Jules has finalized its plan, it will present it to you for approval. Expand the boxes to read through and gauge if it sounds right.
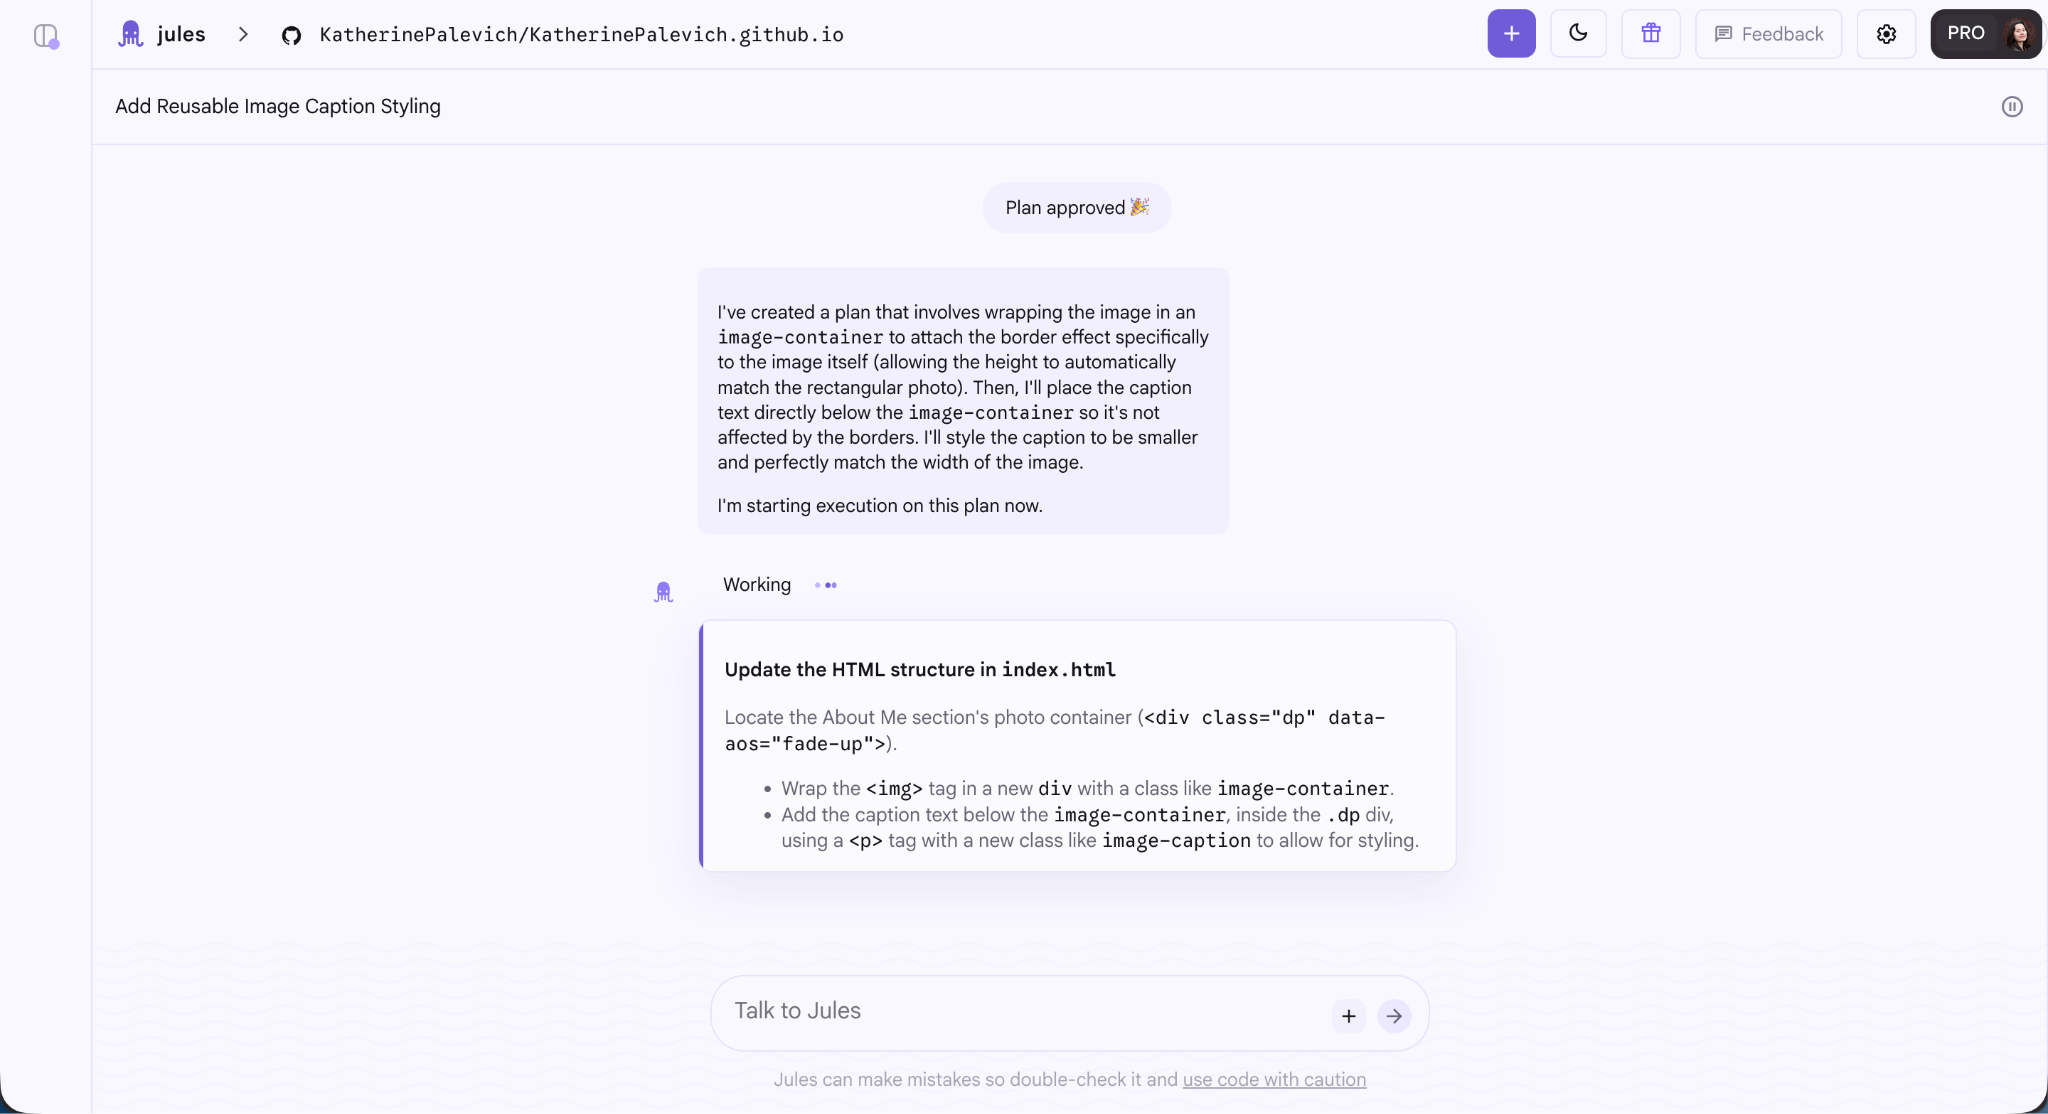
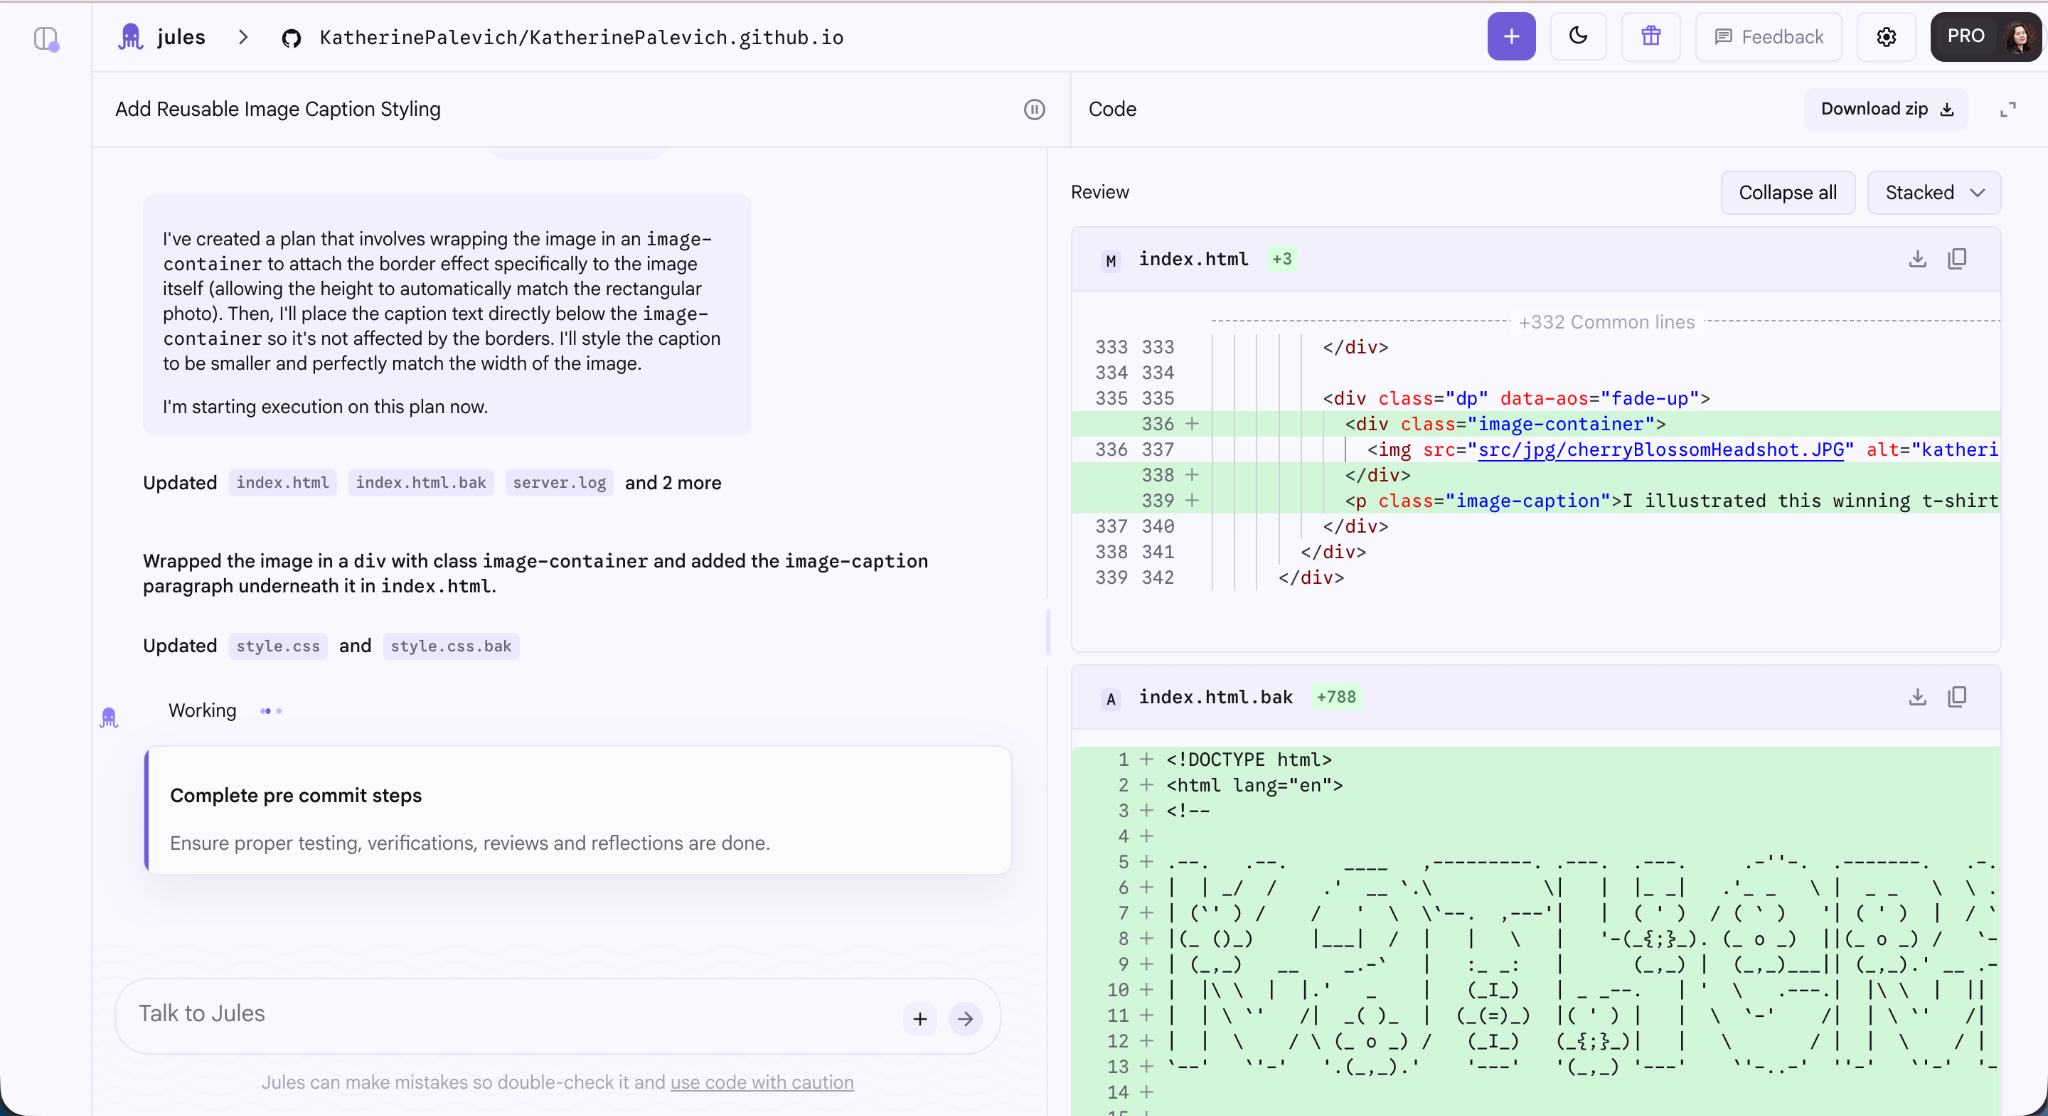
The nice thing about Jules is you can see the proposed code changes within the same browser window. So you don’t have to go to Github and flip back and forth to the Jules chat window if you see a bug that needs discussing.
Once the plan was approved, I was able to fully leverage the asynchronous nature of this web-based system. While Jules executed the website changes, I used the wait time to multitask by prompting two other feature tasks, cleaning my desk space, and catching up on emails.

When Jules is finally ready, you can review the code within the Jules window or look at the code on Github. Then approve and merge the code on Github!
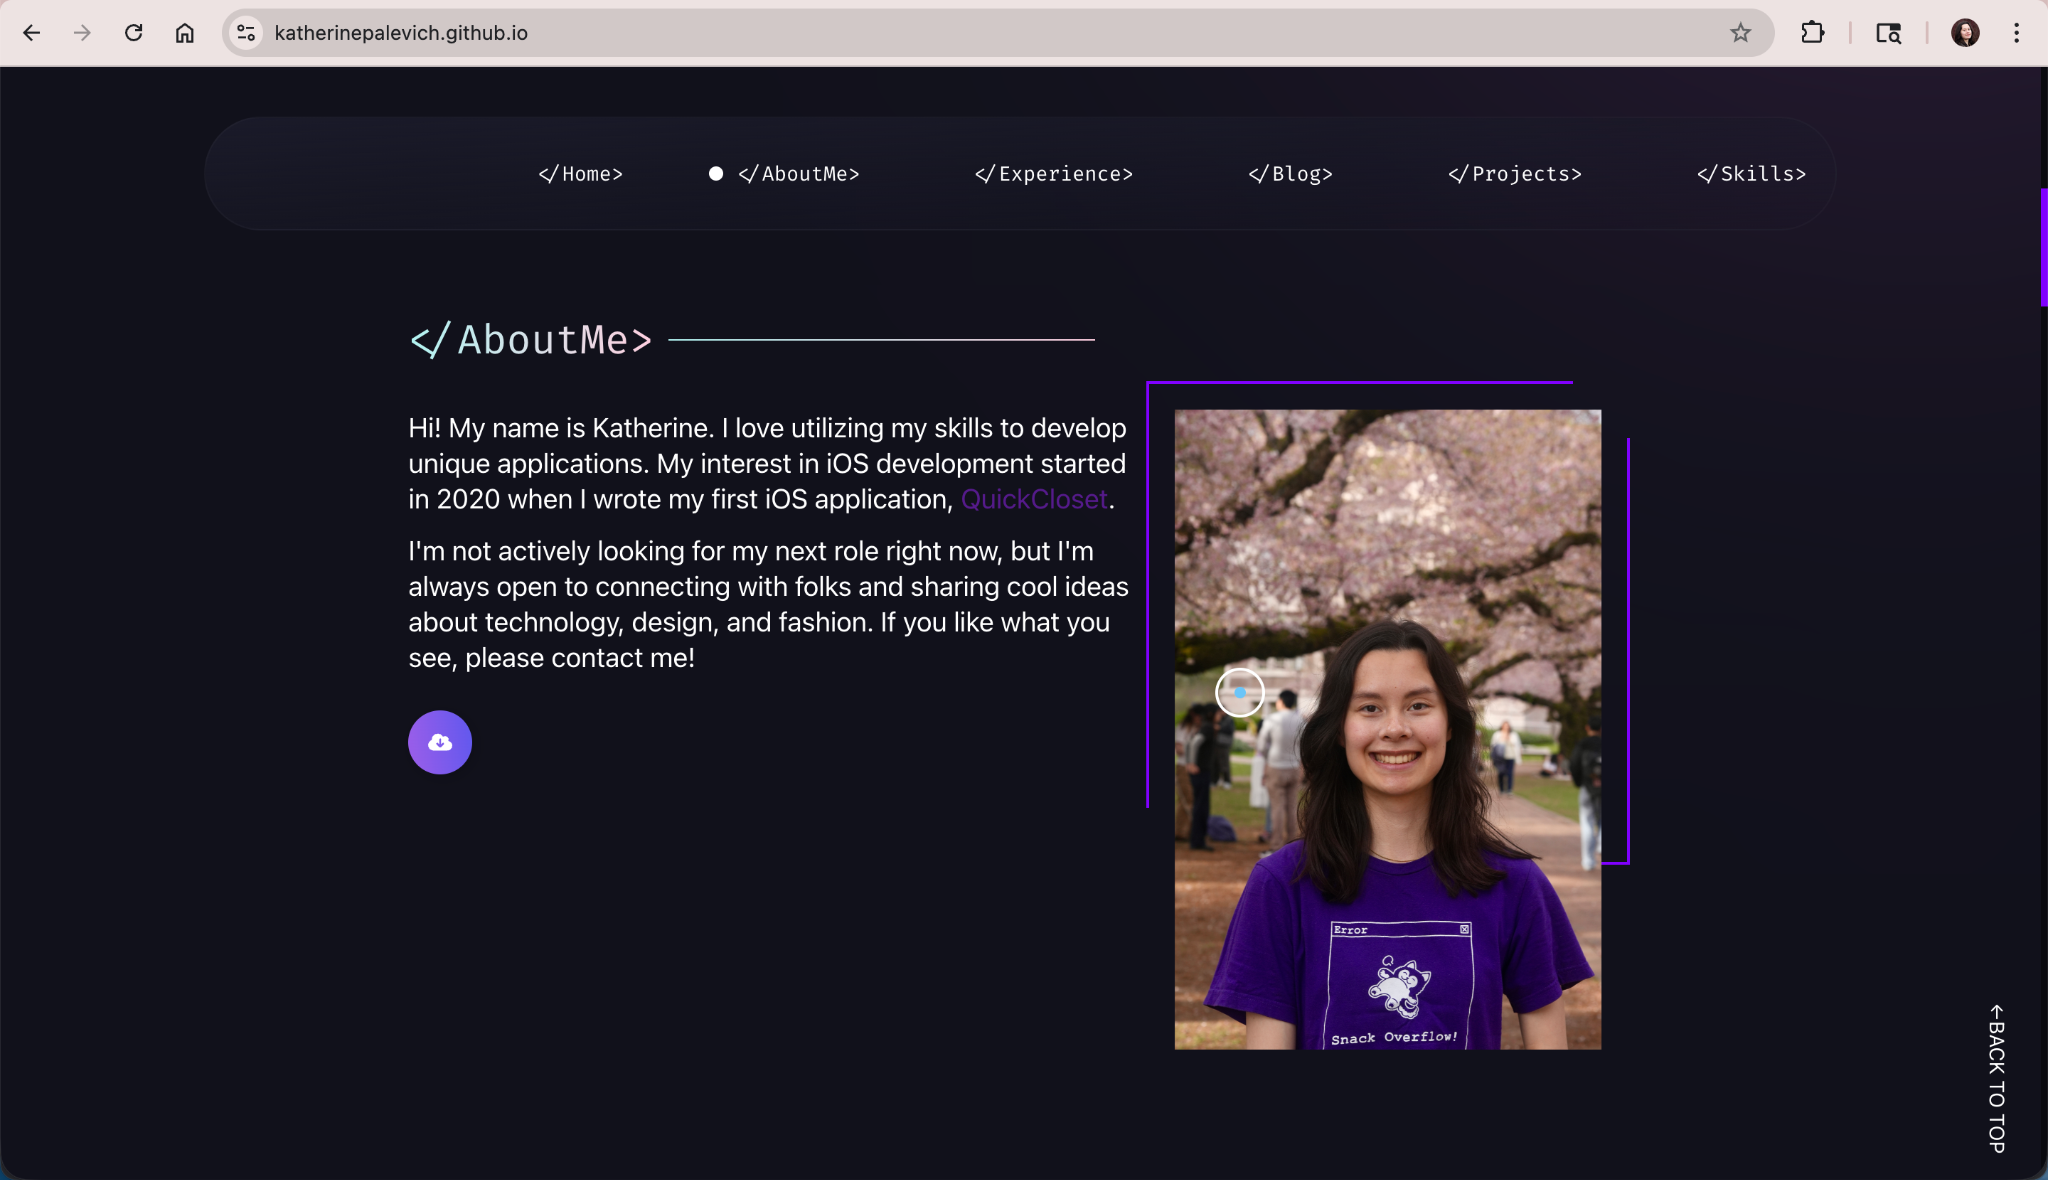
To recap, before when you viewed the About Me photo, this was what you saw. No caption below the photo and the square corner decoration was buggy.
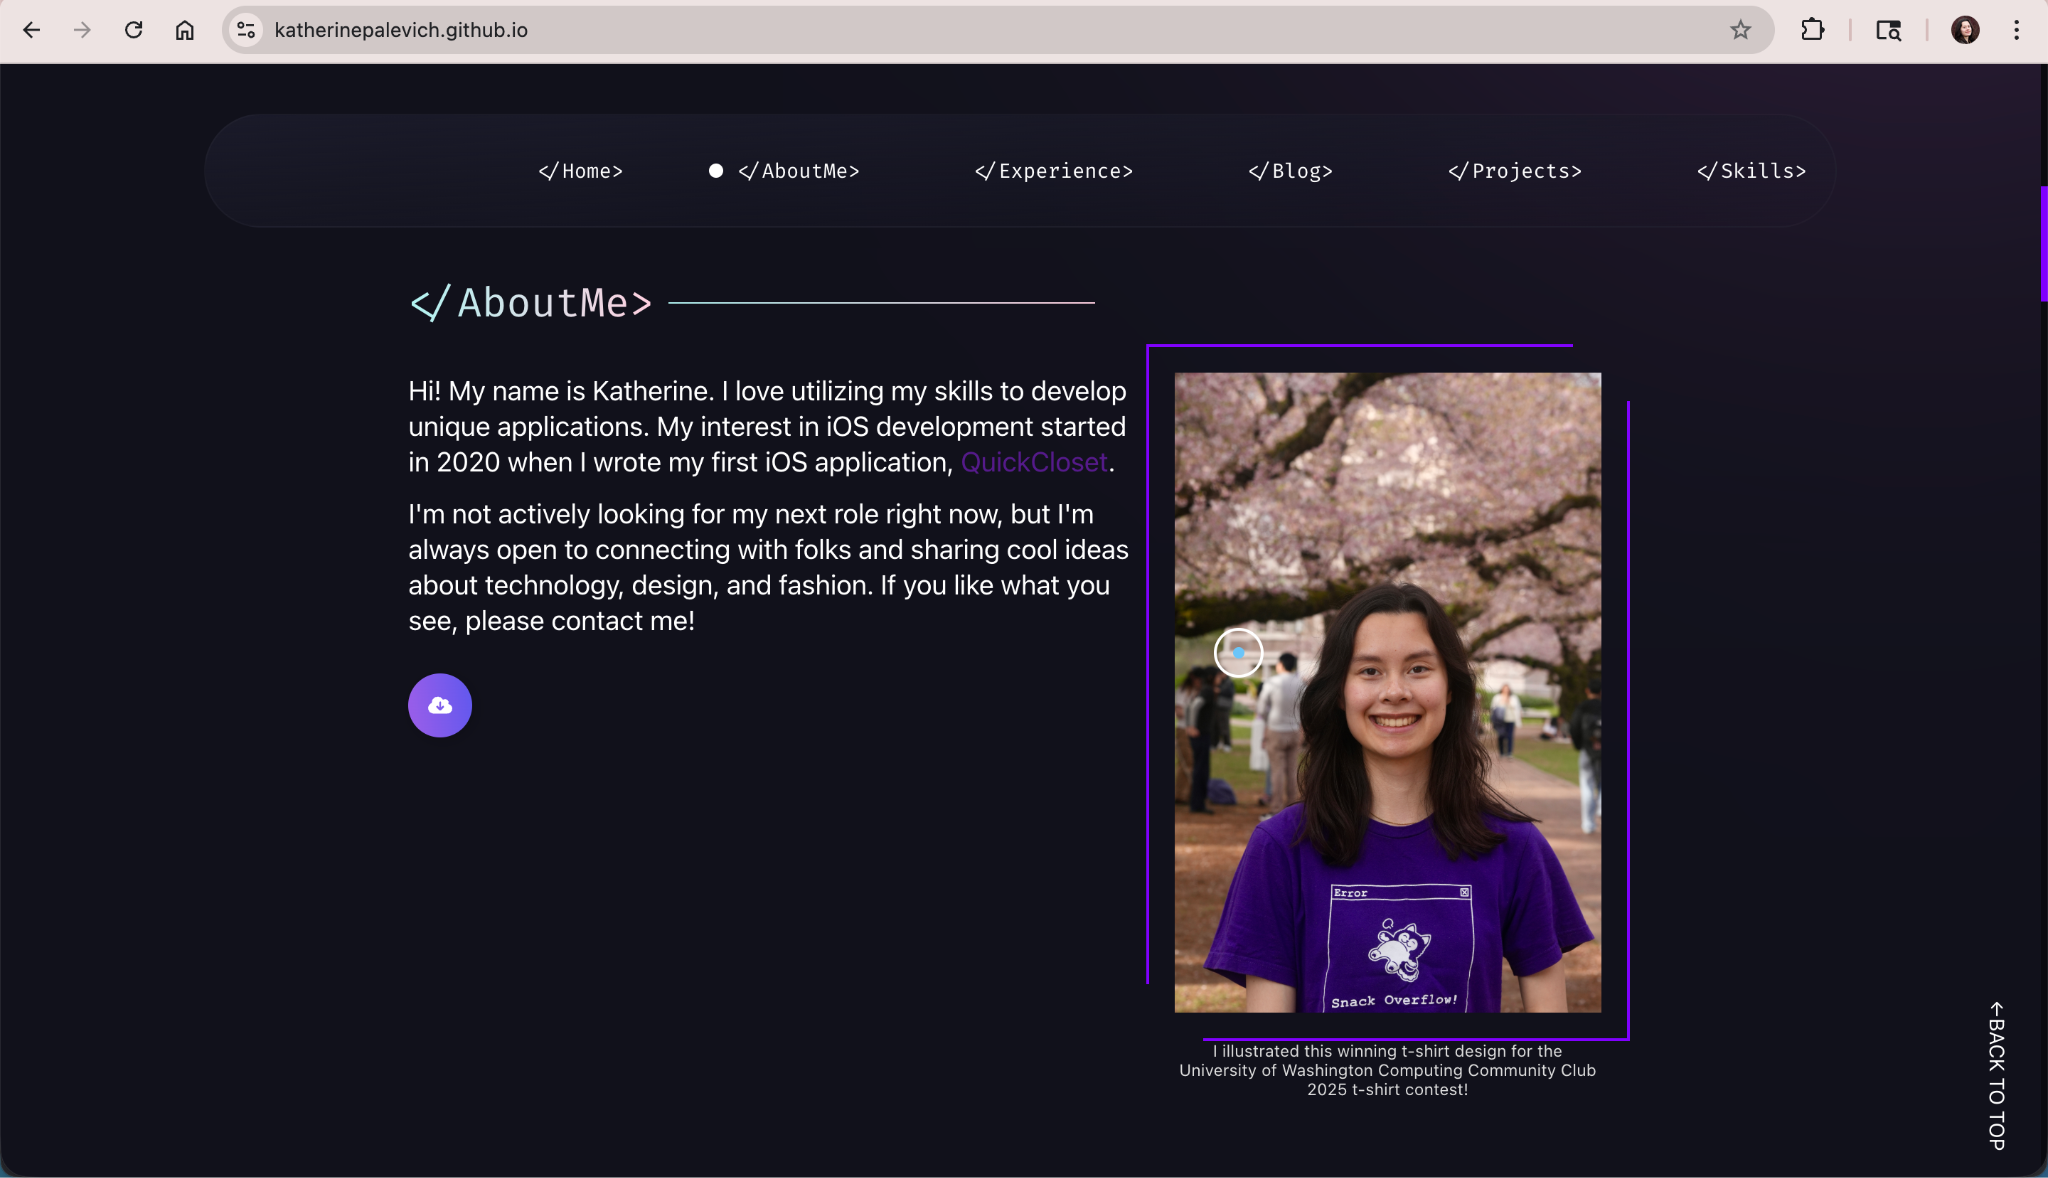
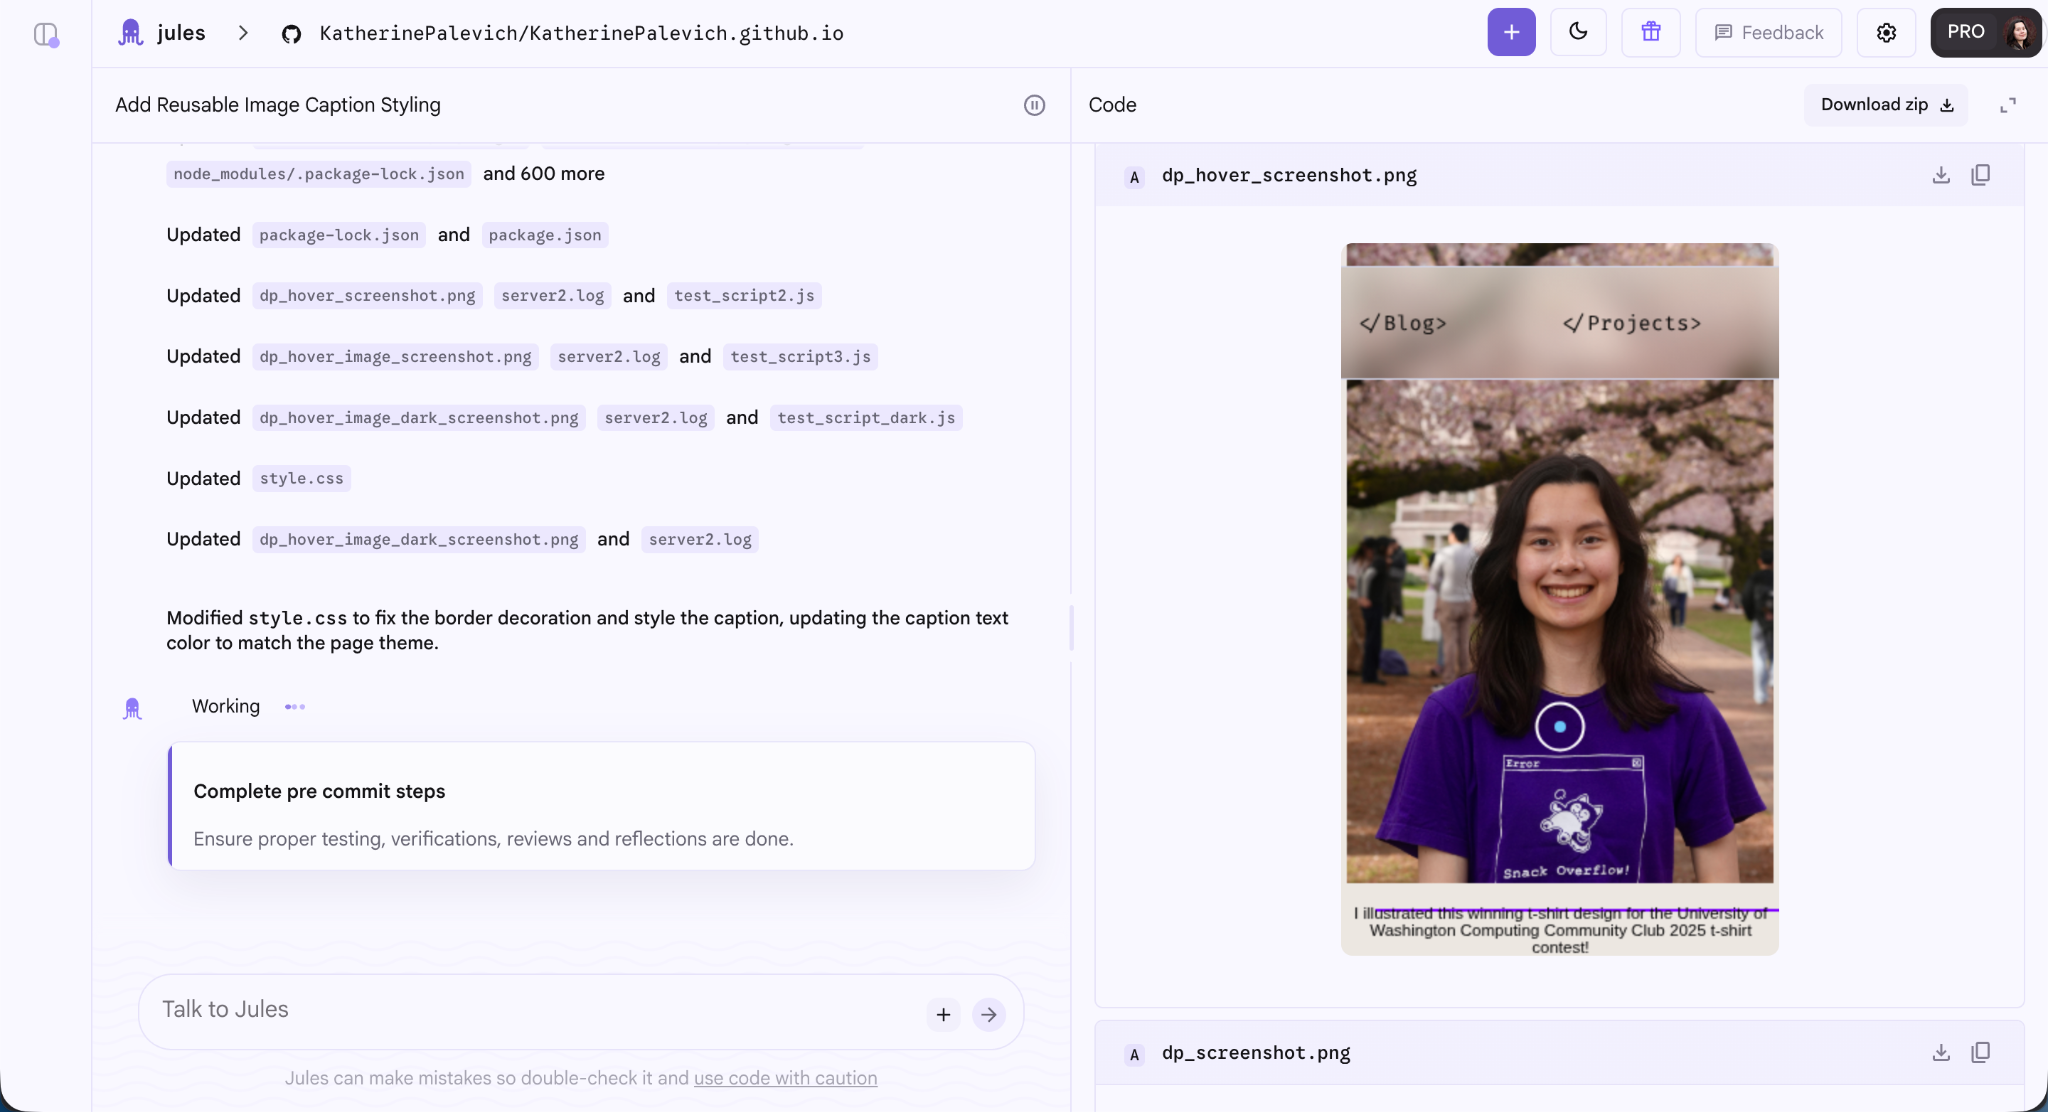
Now, the caption is there and the border effect works correctly!
The nice thing about documenting this feature as a demo is it actually helped make this blog post possible. I didn’t have the reusable css styling code of having captions under images before writing this blog! And I used it five times in just this post alone.